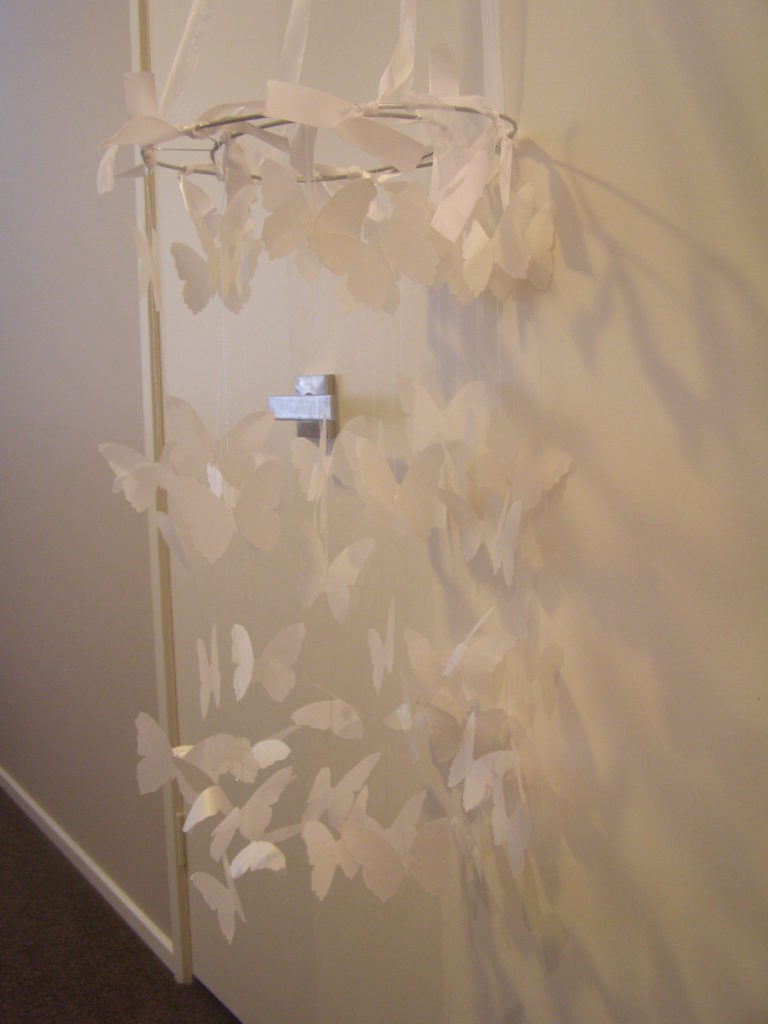
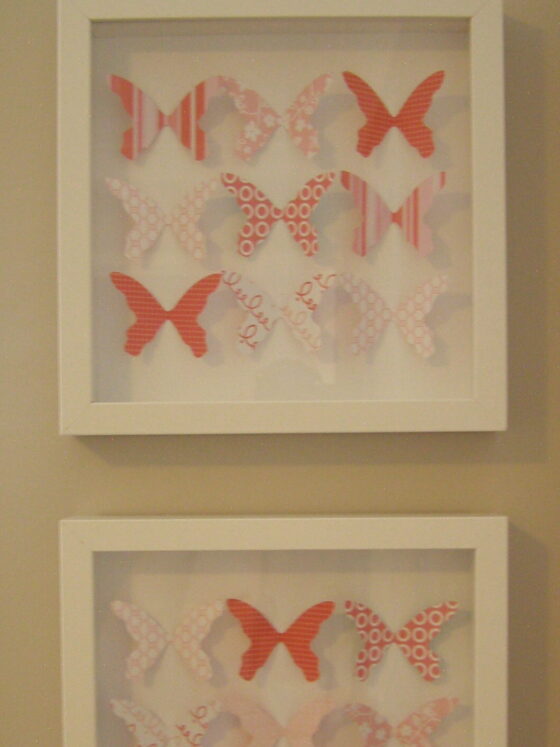
Here’s another tutorial I wrote a while ago for another website. I’ve found a few tutorials on the web here, here and here about how to make this with circles (so it looks like my capiz shell pendant light) or with butterflies. I decided to use elements from each of the tutorials to create my mobile. Now, I have to admit, this project isn’t for the feint hearted (yes, I swore alot a few times during the making of this).
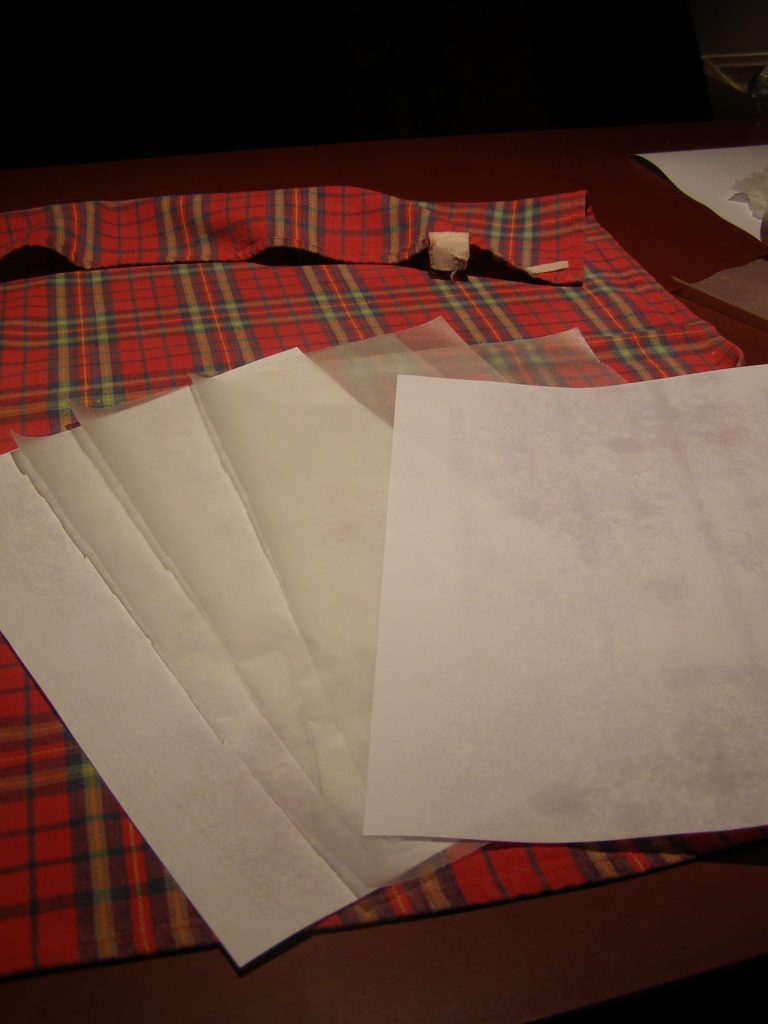
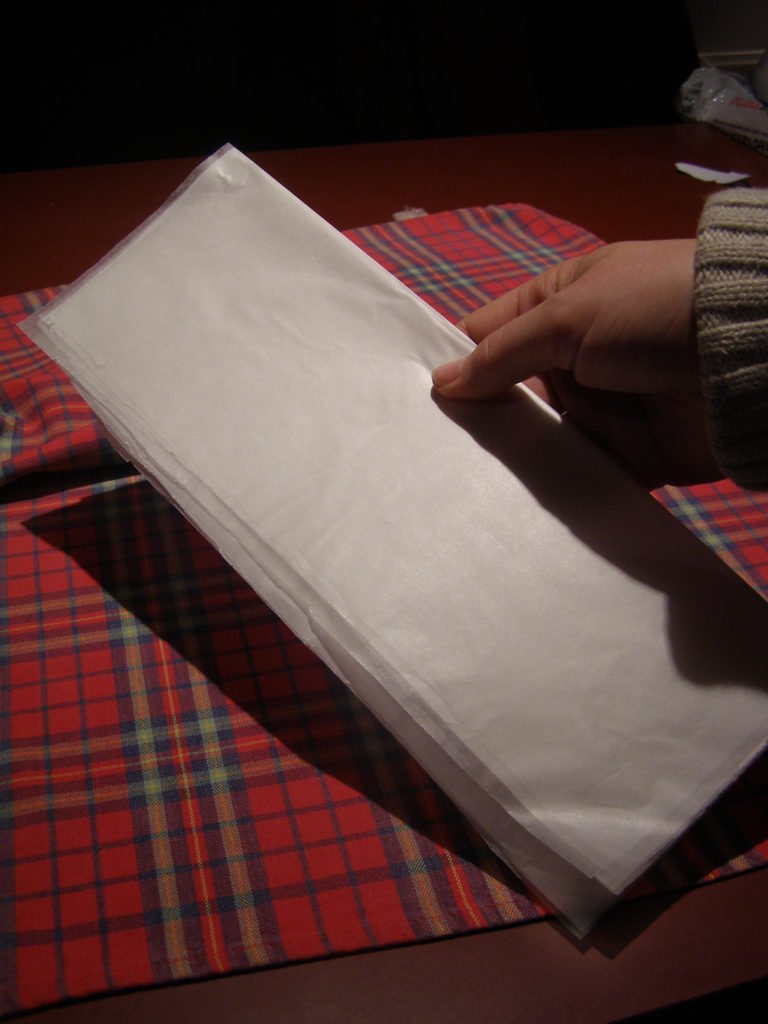
So to start with get 3 pieces of wax paper and 2 pieces of paper (supposed to use parchment but I just used normal paper):
Put the wax papers on top of each other and then between the two papers like so:
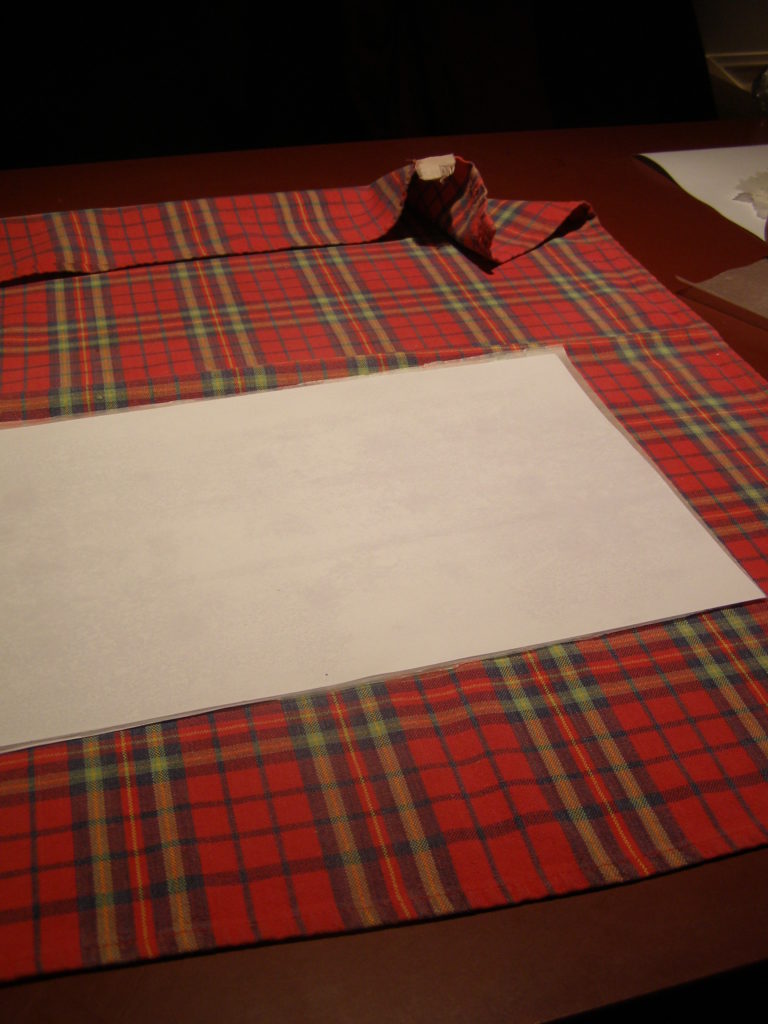
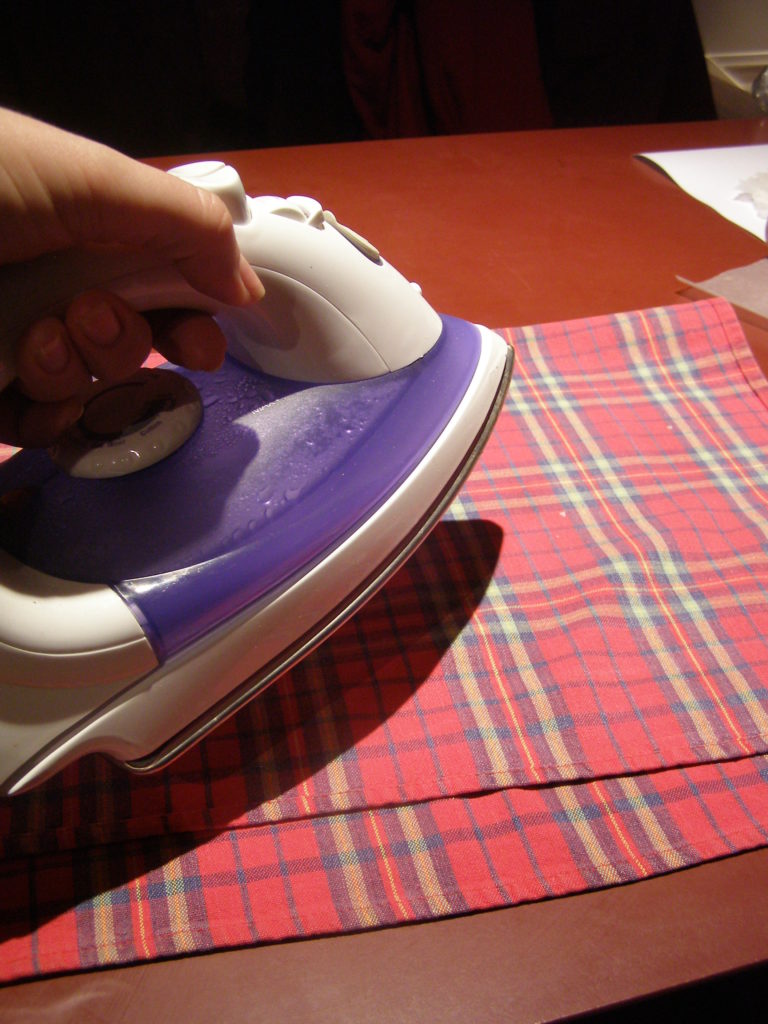
Cover with cloth and iron them. I used a tea towel to stop them from burning (make sure the material of the towel is flat and not terry toweling or something otherwise your wax paper comes out with a bit of a pattern). You also might need to turn the paper a few times and give it a real good going over so the wax papers melt into each other:
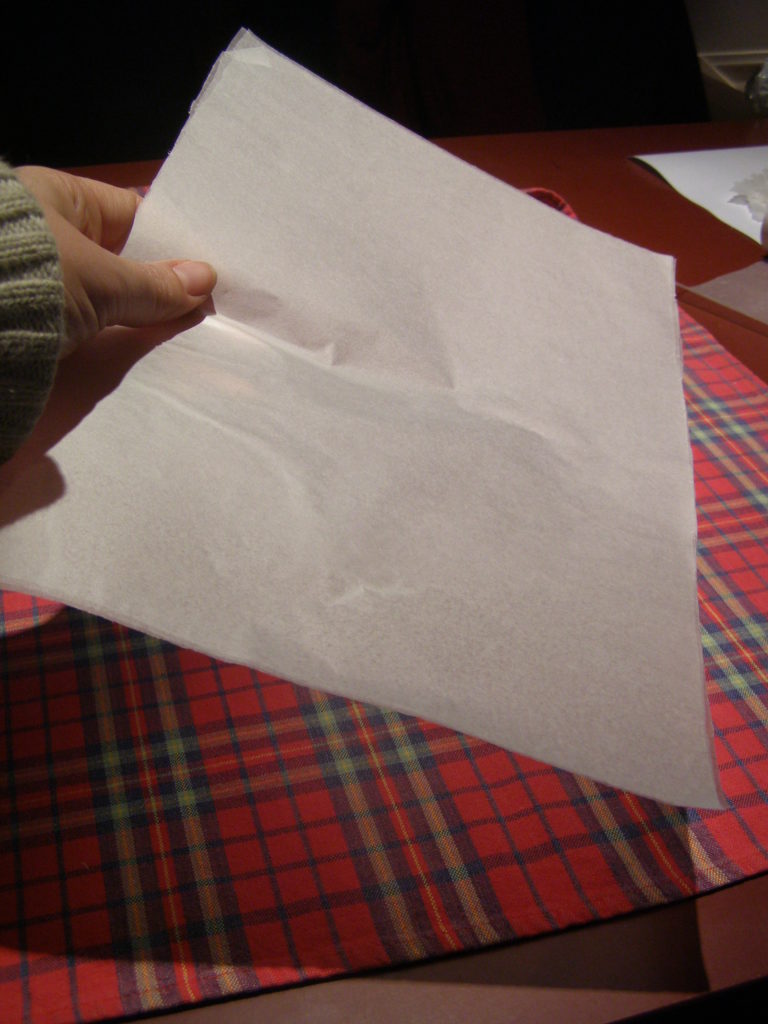
You should then end up with something like this:
Now you are probably thinking by now that this is easy – yeah sure, it is up until now! So if you have a little cutting machine then now is the time to bring that out and give it a whirl, cut the butterfly shapes, and skip these next few steps. But if you were like me and bought the butterfly cutter AFTER this project (but in time for the shadow boxes) then this is the process to follow…
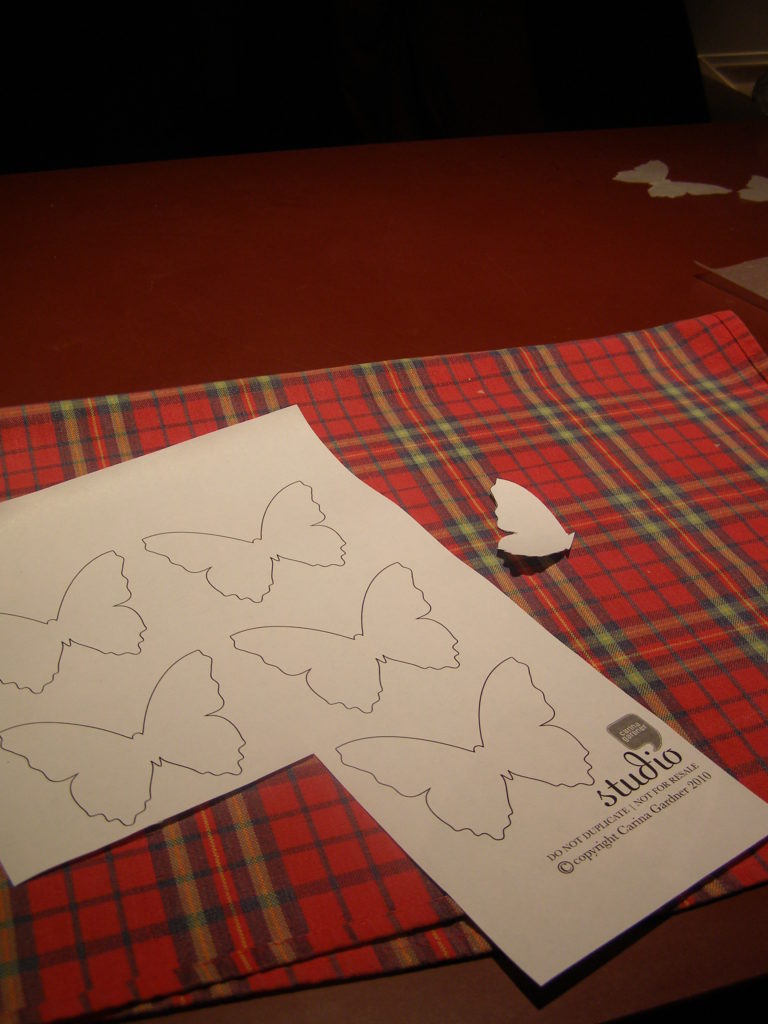
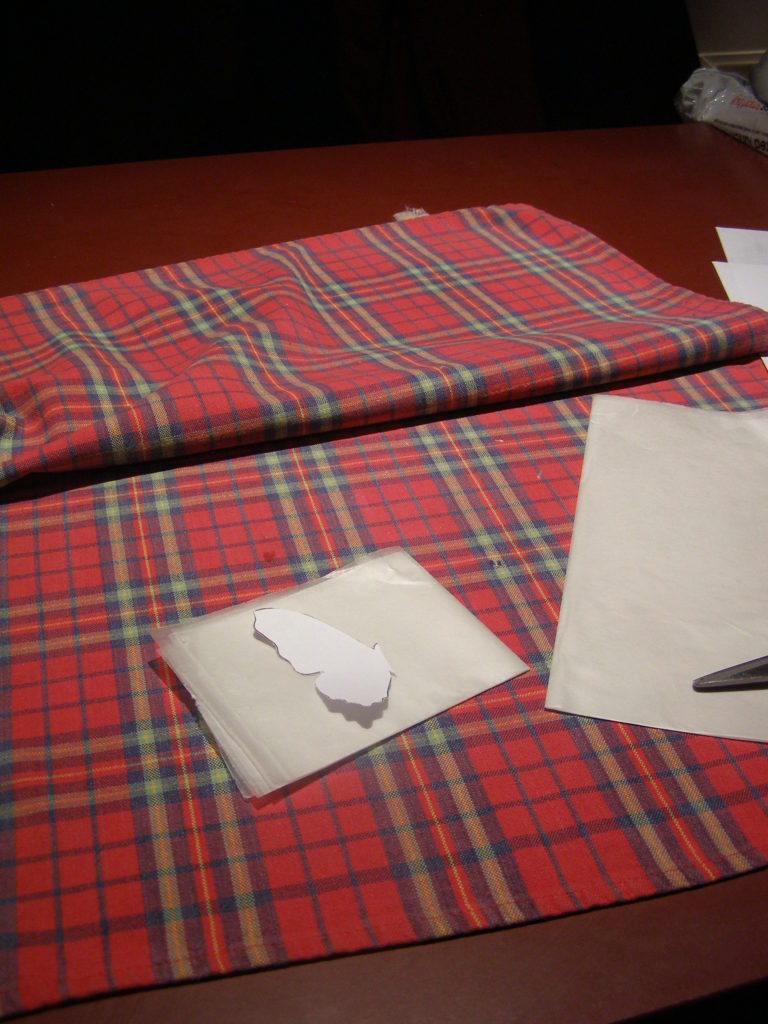
Find a template on the internet that you can use to cut your shape out of. Cut out the butterfly and then cut it in half:
Fold the wax paper in half:
Cut off enough to fit your butterfly cutout:
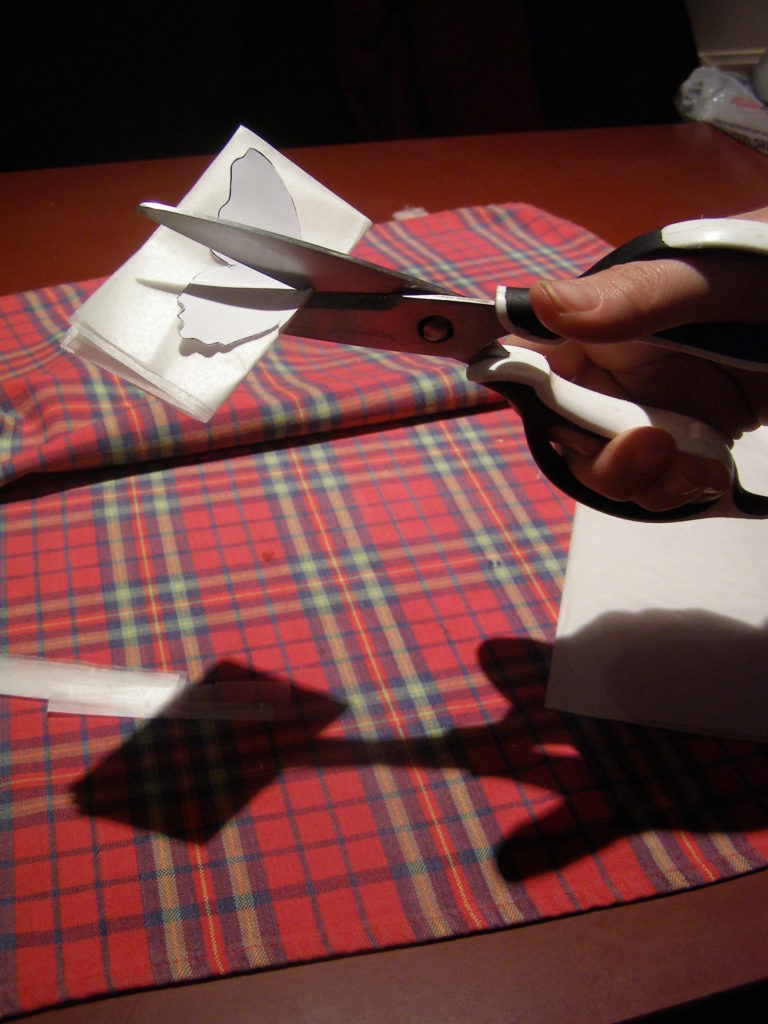
And fold the paper in half again. Then proceed to cutting your butterfly out:
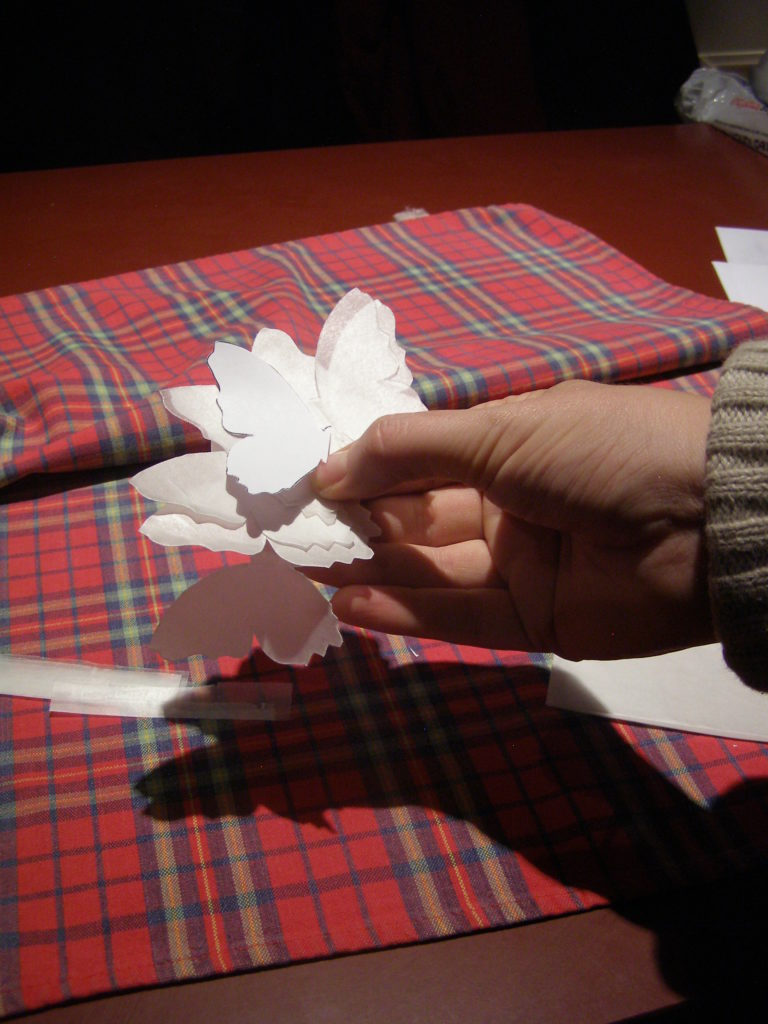
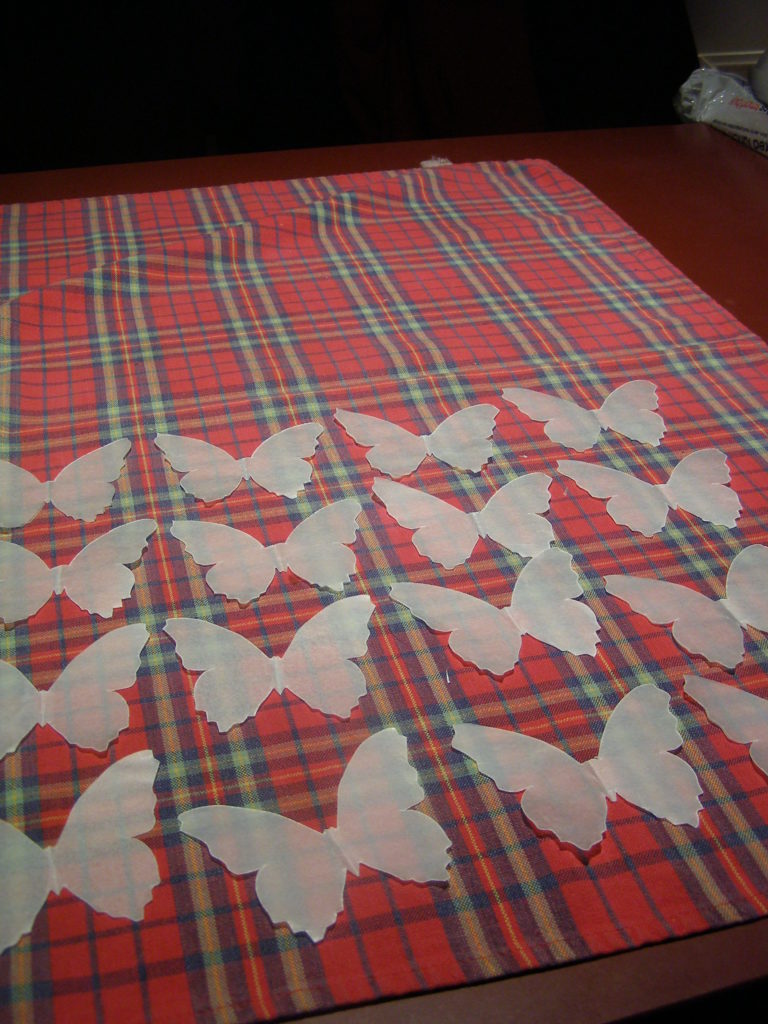
You should then end up with multiple butterflies:
So just keep repeating the process hundreds of times (not really but it felt like it was that many):
I was finding my butterflies needed another going over with the iron so I just popped them back under the tea towel and gave them another good going over.
So now you have your butterflies and you are probably saying, well that was a little difficult but hardly challenging. So here comes the next stage…now you will notice no photos from here in because between the cursing, sticking glue everywhere, tying string…let’s just say it is a very frustrating process and if I never do this again I will be happy 🙂
So for this next step you will need the following:
- nylon string (you can get this from a craft shop)
- hot glue gun
- hot hair iron
- ribbon
- wire
- something to tie the strings to to make your mobile (I used two metal rings – one at 28cm and the other 18cm)
Cut your nylon strings. I did 13 at about 50cm long and 6 at about 60cms long. The string will want to curl so whip out the hot hair iron and run it over it a few times to straighten them. I tied all the strings onto the rings before I did this so I had something to hold them while I straightened them.
Lay your strings out, position the butterflies under the strings. On the 50cm lengths I used 3 butterflies and on the 60cm lengths I used 4 butterflies. Once in position, put a dot of hot glue on each of the butterflies so it joins the string to the butterflies.
Using a bit of wire I connected the two rings together so that the smaller ring is evening positioned within the larger ring. Might be good to use a pair of pinchers when you do this or if you use your fingertips like me, you could end up with them being pierced and bleeding all over the butterflies (yes, told you I had fun!).
Get someone to hold the rings so you can untangle the lengths of butterflies and tie some ribbon around the edges in an effort to cover the wire ring. Use some more of the ribbon to make the thing you are going to use to hang it or you could use some more of that nylon string even.
So there you have it, one butterfly mobile complete! Give it a go yourself and see if you can have as much fun as I did 🙂
Have fun!

