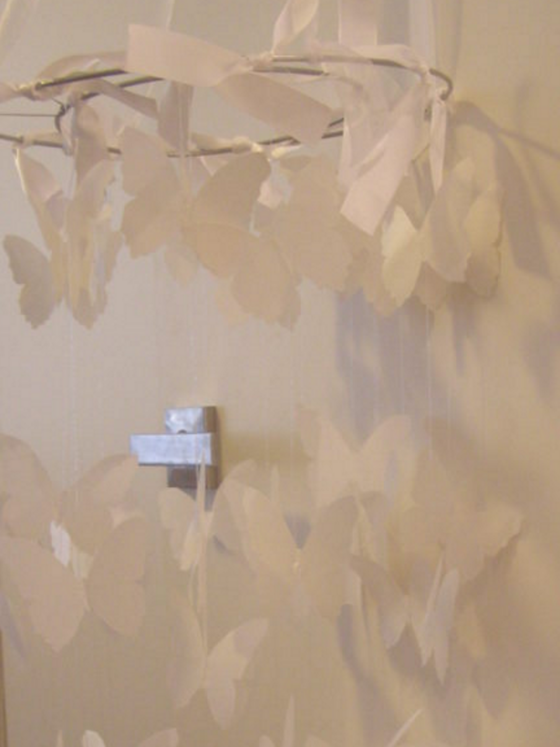
This is a tutorial I did some time ago on another website. Because I enjoyed making it so much, I thought I would share it here for you peeps to check out:
1. Start with a cutting board, stencil of butterfly, various coloured paper, some white card to stick butterflies to, shadow box frame, glue gun and a cutting tool.
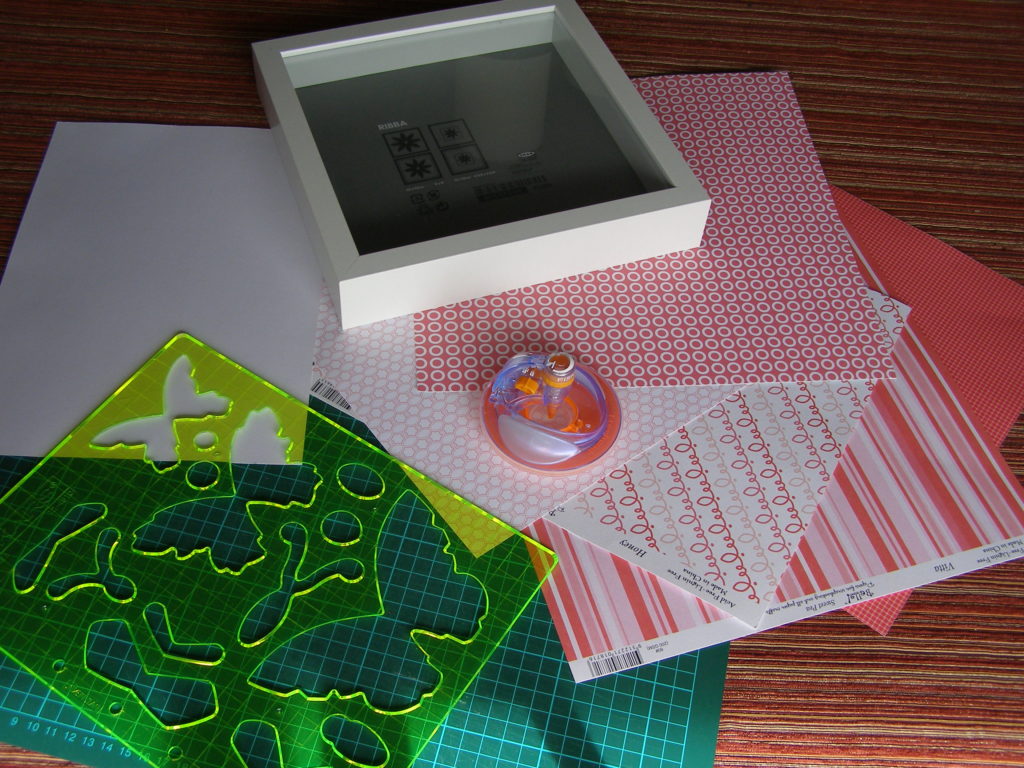
2. Put the stencil over the paper and cut out your butterfly (make sure the cutting board is underneath!). I used a Fiskars cutter that does shapes and freehand…apparently it cuts any shape!
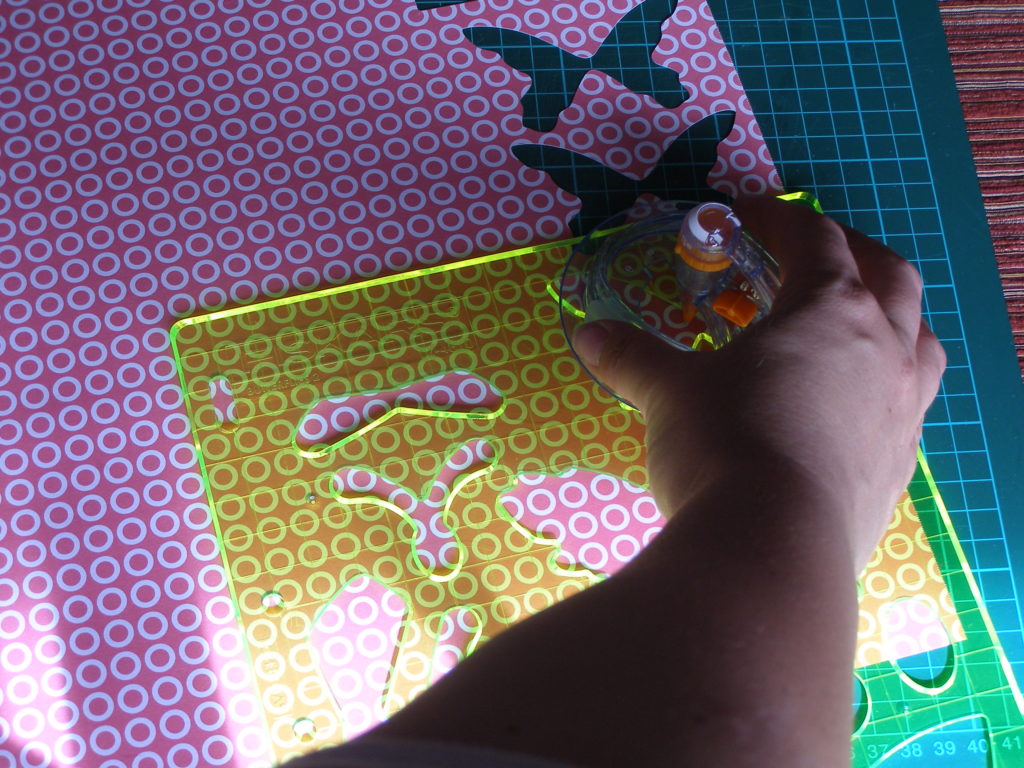
3. Remove your shape and fold it in half
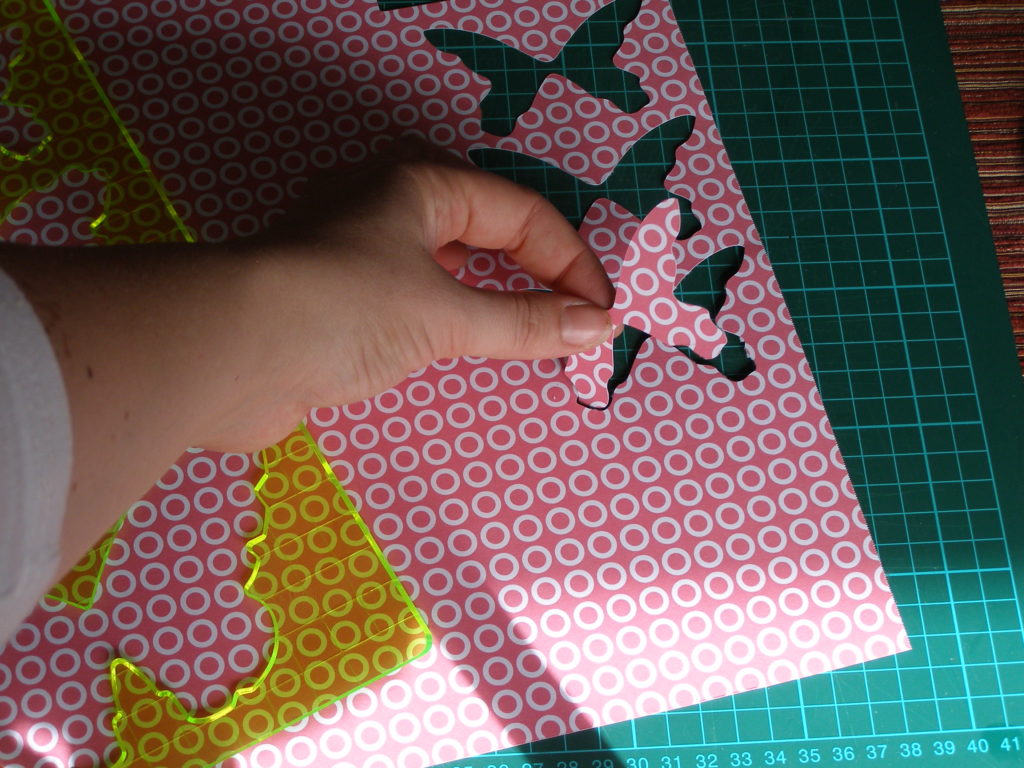
4. Put a little bit of glue on the bottom of your butterfly. You might need to work fast at this point as my glue kept going hard before I got it on the card!
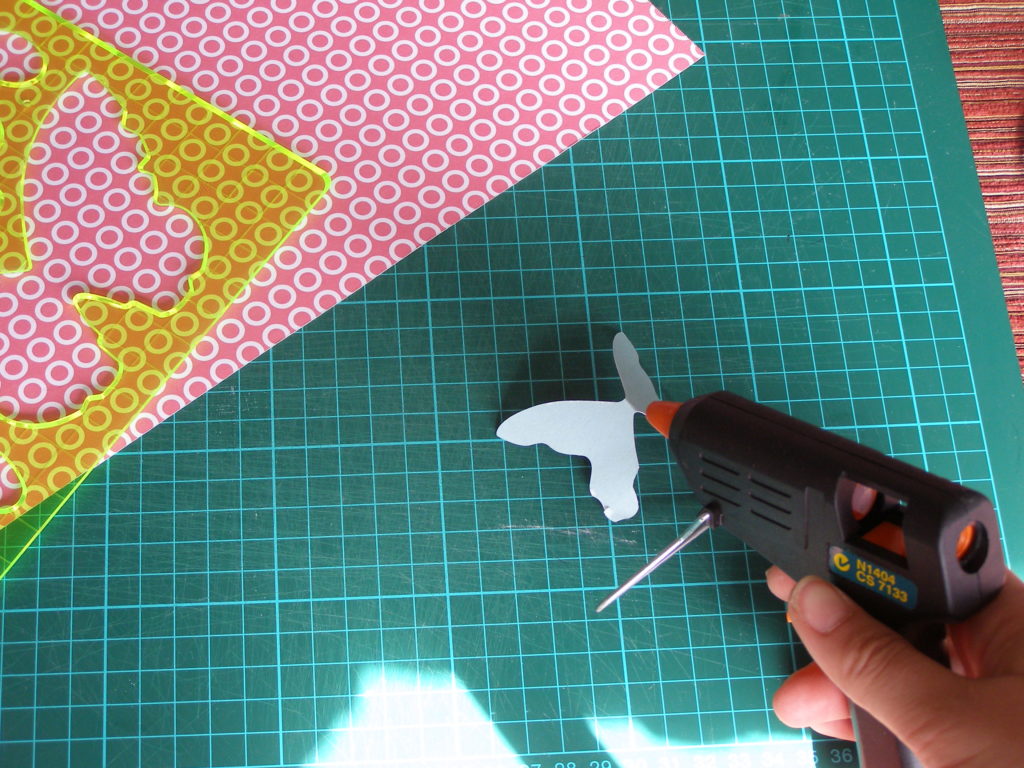
5. Then stick it to the card so the wings are raised. Now I should tell you that a fair bit of planning goes into figuring out where to stick it. I googled “grid paper” and printed off a grid, taped it to a window then put my white card over the grid paper so I could see the grid through it. With a pencil I put a dot where I wanted the butterflies to go so that they were going to be spaced evenly. Once you have marked out your paper, you might also want to double check it inside the frame to see how they will look.
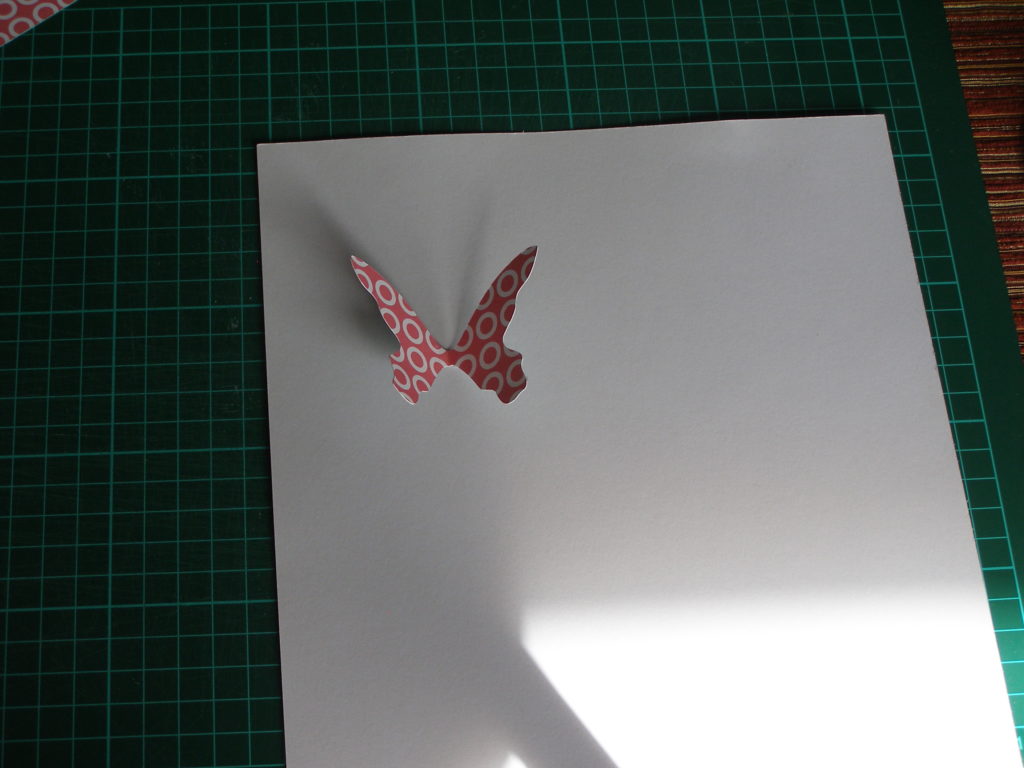
6. Repeat, repeat and keep repeating until you have enough butterflies. Depends on the size of your butterfly and frame as to how many you should do. You can do small butterflies and have lots of them or do larger ones like mine. It will eventually look something like this (unless you really mucked it up which is near impossible to do!)
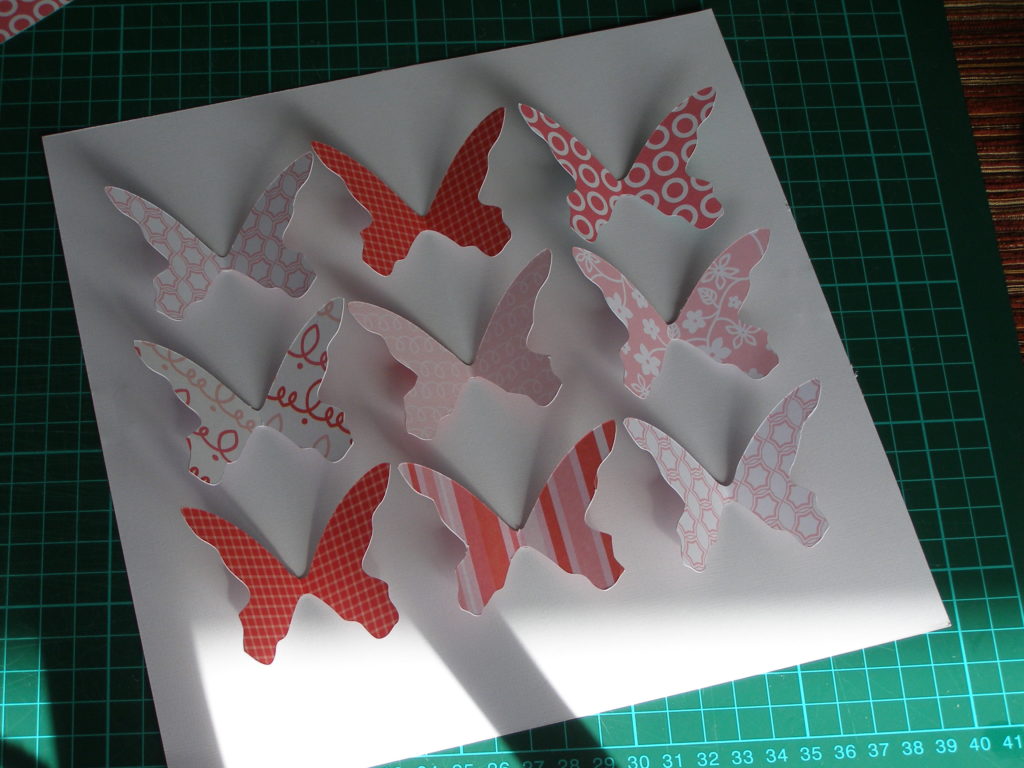
7. Get your frame. I just used the Ribba frame from Ikea. They come in all sizes and colours…and they are cheap as chips! It’s just a matter of putting this inside the frame and…
8. Dah dah…job is done!
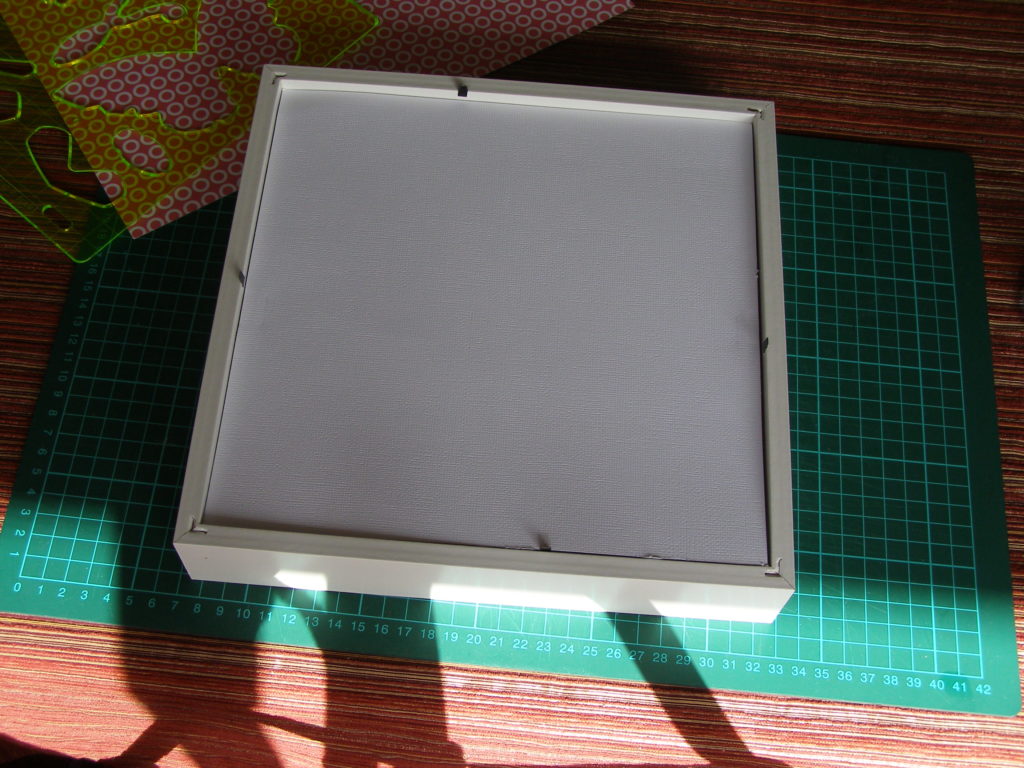
9. Seeming you had so much fun doing this and it was sooo easy to do, why not do two!
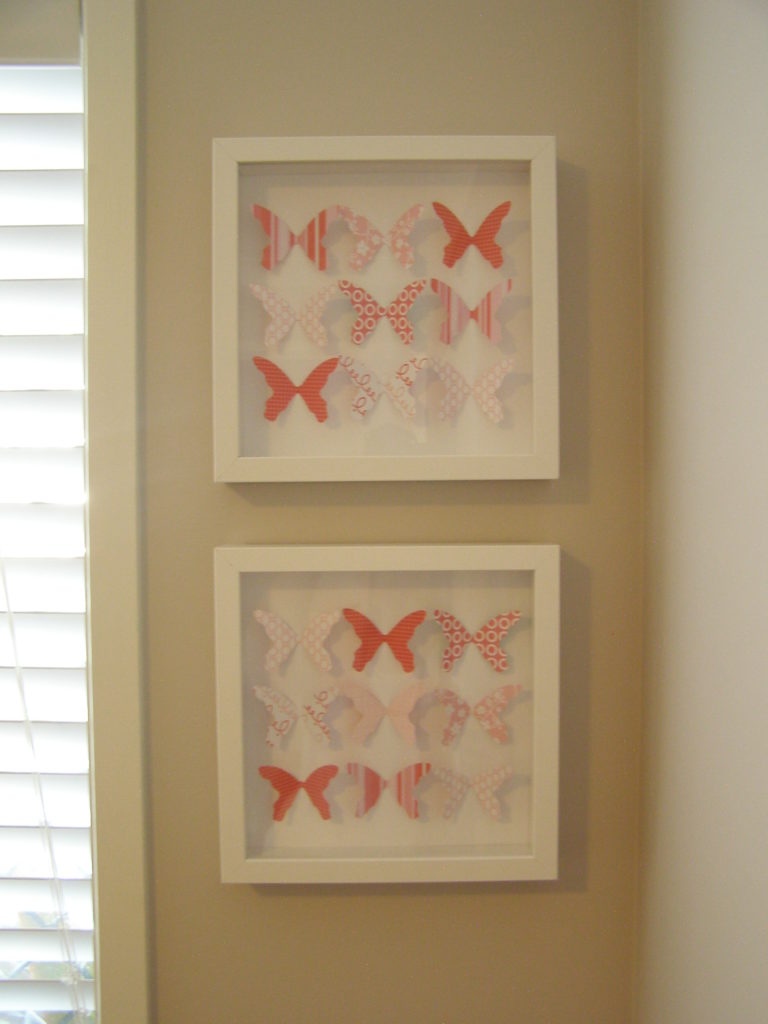
So give it a go yourself and let me know how you went 🙂 I’ve got some more past craft tutorials to share with you so watch this space!
Have fun!


